Hello, readers! Although we are no longer posting new items on our blog, we are keeping it available so you can browse through our past posts. Thanks for visiting!

Mar 30, 2011

{5 Dollar Berry Wreath}


I made this wreath last SPRING and just pulled it out to hang up again this year.
It was originally made for a $5 dollar blog challenge so I decided to get all of my supplies at Dollar Tree.

Since Dollar Tree is currently selling these little berry bundles again, I thought I'd show you the tutorial so you can make one for yourself!

These tutorial pictures are fairly self-explanatory:


Buy and gather your supplies.
You will also need scissors and your trusty hot-glue gun.


then


Take caution, as the hot-glue can and will easily seep through the open berry spaces and will burn you.  I promise.

Also, I do NOT recommend making this wreath anywhere around small children!
The foam berry balls come off quite easily and roll right onto the ground.

They look like delicious candies.

I had to stop myself from eating them.....

just kidding

But, please... be super-duper careful!


To finish it off, tie a ribbon around the top and hang it up!


There are other colors of berries as well:   blue, pink, purple...  you could make any color combo you like, or keep it all one color.

It would also be cute as a table centerpiece with candles or a mossy nest and eggs placed in the center, perfect for Easter!


-Annie

*Click HERE to see the lovely linky parties we participate in!*


Pin It

Mar 29, 2011

{Kitchen Art}


When I posted pictures of my newly painted kitchen, one of our lovely readers made a comment about hanging some framed prints on the beadboard that hangs behind the cabinets.

I loved the idea (thanks Tanya!) and immediately started brainstorming about what kind of prints I would want there.

Etsy to the rescue!

I found these really great prints from a seller named Oodles Of Color. Check out her shop...she's got some cute stuff.


I matted the prints in white and framed them in black (also suggested by Tanya).

I really love the way they look in my "new" kitchen!

--Tammy

Pin It

Mar 26, 2011

{Wooden HOME Decor}

All throughout our childhood, our mom had these little wooden houses set on a shelf as part of our home decor.
They originally had stenciled-on letters that spelled out
W E L C O M E
and I have always loved them.

They were painted in different shades of blues and pinks and mauve.
Definitely 1980's style colors, but still super cute.

When they showed up in of our garage sale boxes a few years ago, something told me to keep them.
I just knew there was a way to transform them into awesomeness!

Little wooden house shapes?  Too cute!
They had to stay in the family.


I took 4 of the best shaped blocks and got to work.

First, I found some block letter stickers and applied them to each block, spelling out H O M E:


I then painted a thin layer of acrylic paint over the top.
I used my favorite light turquoise paint color that I found at WalMart -- it's called CLOUDLESS:


Once the paint was dry, I inked all of the edges with brown distress ink:


Then I carefully peeled the stickers off to reveal the wood underneath.
I love how each block has its own natural wood colors and grain!


Isn't that a great improvement?
It took about 10 minutes, tops.... and that includes drying time.

You could do this with any small wooden cut outs you might have.  I think any shape would be cute.  I'm definitely loving my HOME houses!

I added small pieces of the command velcro strips to the back of each house so I could hang them on the wall, above my cork board:


..and they love living there.

:)

Stay tuned later this week to see more info on that darling stuffed
strawberry garland!
(soon to be in the Peppermint Plum Etsy shop as well)

-Annie

*Click HERE to see all the lovely linky parties we participate in!*


Pin It

Mar 25, 2011

{GIVEAWAY WINNER!}

Thank you to everyone who entered the GIVEAWAY!


We had 39 total entries, and the random winner is:


Comment #5:  DIXIE MOM
Shut up! I have been looking all over the place including the internet for those ever since you posted them! Seriously...I even have a friend in Kansas City driving all over! Ha!
I have been daydreaming about a project with them for weeks! So...pick me!
And I'm a follower already...have been!!

Awesome!

Congratulations, Dixie Mom!
Please email us at PeppermintPlum@hotmail.com with your name/address.

* * * * * * * *

And, since these little wooden figures are still so hard to come by, if I find another pair, I may just pick another random winner to send them to.

Thanks for playing, everyone!

-Annie
Pin It

Mar 22, 2011

{Surprise GIVEAWAY!}

*This GIVEAWAY is now CLOSED*


Don't you just love the sound of that word?

G-I-V-E-A-W-A-Y

Ooh, chills!

Remember my {Bathroom Door Makeover} from last month?


Well, I got lots and lots of lovely comments about it, and also noticed that these little wooden flat people were hard to come by!
Michael's always seemed to be out of them.

Have no fear....

I found a pair of them and they are ready to come live with you!

Hooray!

But, that's not all:


So all you need to do is open your mail, paint the wooden peeps, stick on the velcro stickies and hang 'em up.

That is, if YOU are the LUCKY WINNER!
If you want a chance to win this stuff, all you have to do is leave a comment saying you would love to win!

If you want more than one chance to win, simply spread the word or follow Peppermint Plum on Facebook and leave a separate comment below letting us know.

We also ask that you become a follower of Peppermint Plum first... that way, we will have a better chance of contacting you when you win!

If you do not have a blog to link to your comment(s), you can leave your email address along with your comment.

 
Comment entries will be accepted until Thursday night and a random winner will be chosen Friday morning.

GOOD LUCK, PLUMS!

*This GIVEAWAY is now CLOSED*

Pin It

Mar 21, 2011

{Book-Page Brooch}


Since it was my turn to host Book Club this month, I thought it would be fun to make a little gift for my book club friends. A Book-Page Brooch seemed appropriate.

I found this great tutorial at Under the Table and Dreaming on how to make beautiful book-page rosettes. They were surprisingly easy and fun to make!

I added a couple of leaves, hot-glued some white felt to the back, then glued on a pin, then another small piece of felt to finish it off...and now it's a cute little brooch!


I "served them up" alongside Barefoot Contessa's to-die-for Lemon Bars (they're thick and really tangy).


We had an enjoyable evening discussing The Forgotten Garden by Kate Morton...I highly recommend it!


Happy First Day of Spring!

--Tammy

*Click HERE to see the lovely linky parties we participate in!*

Pin It

Mar 17, 2011

{For Japan With Love}


If you would like to participate in the
For Japan With Love -- bloggers day of silence on Friday, March 18th
or if you are able to donate any amount... large or small... to this cause, please do so! 

Click the image above or below to participate and help in any way you can.


Pin It

{Question for you...}

Did those mischievous little leprechauns
sneak in and turn your milk green, too?


--Annie & Tammy

Pin It

Mar 14, 2011

{Thick, Soft Sugar Cookies}


Do you want to make the best sugar cookies in the world? Look no further! I have a recipe for sugar cookies that will blow your socks off.

...that is, if you are into sugar cookies that are unbelievably soft and thick and
melt in your mouth.
Seriously...these are amazing.
{The trick is to roll them out thick and bake them for less time than you think they need.}

You'll need:


1 cup butter
2 cups sugar
2 eggs
3 tsp. vanilla
1 cup sour cream
1 tsp. salt
2 tsp. baking soda
5 1/2 cups flour

In mixer, cream butter and sugar, and then add eggs and vanilla. Add sour cream. Combine salt, soda, and flour, and add to mixture.

Roll out on floured surface to about 1/4 to 1/3 inch thick. Really.


It saves time to have cute little six-year-old hands helping you pick up the scraps.

Use a spatula to carefully slide under each cookie and place onto greased (with Pam) parchment-lined cookie sheets. Bake at 375 for 7-8 minutes.
THEY WILL NOT LOOK DONE!
But don't give in to your temptation to cook "just a little bit longer" or you will get crunchy cookies instead of soft, pillow-like cookies.
This is what mine look like when I take them out of the oven:

They are still very pale and have no browning anywhere. If you have a golden brown color along the edges then you have baked them too long.

Wait about 5 minutes and then transfer carefully to a cooling rack. If you wait longer they will get soggy on the bottom and sometimes get stuck to the parchment paper.

Once they are cooled they are ready for frosting.

Note: I know that there are people who make amazingly beautiful iced sugar cookies.
I am not one of them.
I've seen some sugar cookies out there that are smooth, glossy, beautiful pieces of art. For those of you who have the talent and patience to make such beautiful masterpieces...I envy you on many levels.
But me?
I prefer cookies that taste good and I don't really care so much about what they look like. The one time I made royal icing I thought it ruined my sugar cookies. Just my two bits.

Here is the simple buttercream frosting I use:
1/2 cup butter, softened
4 cups powdered sugar
2 tsp vanilla extract
1/4-1/3 cup milk
In a mixing bowl, cream butter. Beat in sugar and vanilla until crumbly. Gradually add milk until frosting reaches desired consistency. Add desired food coloring.

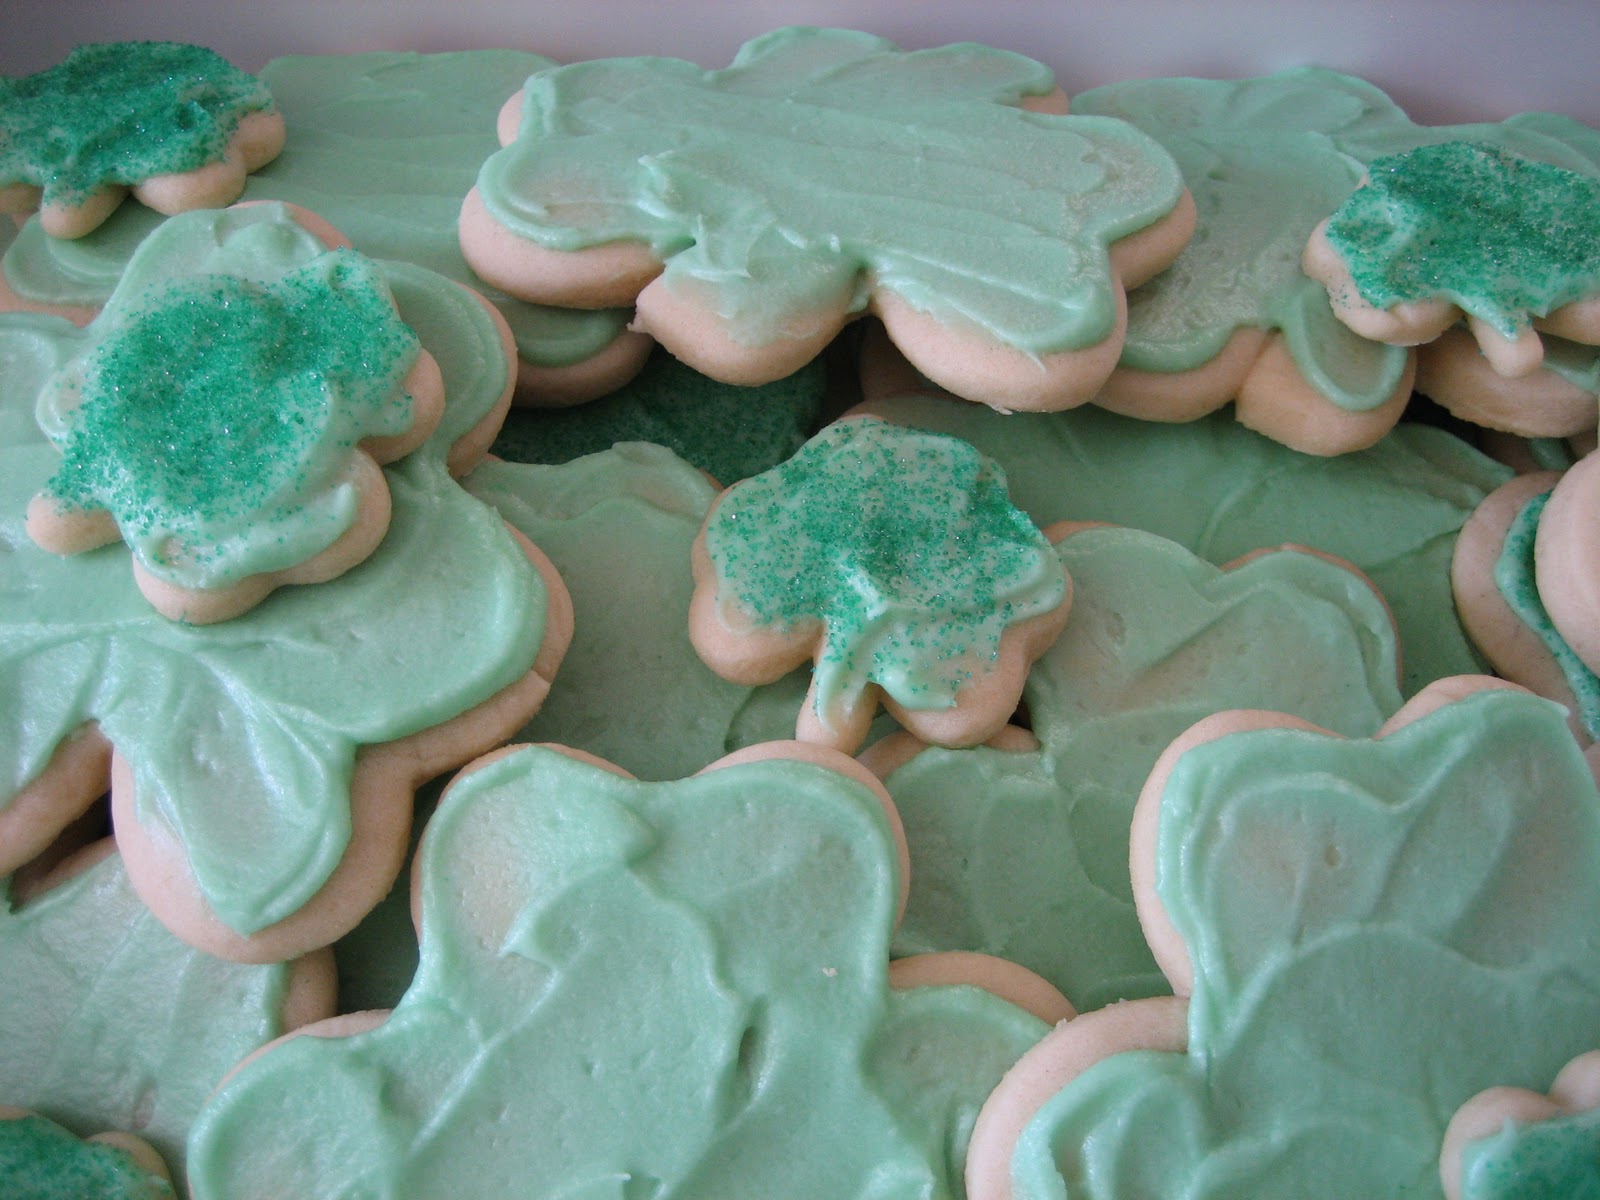
And there you have it. Heaven on a plate. This recipe makes about 30 extra large cookies (like I have here) or up to 4 dozen smaller cookies.

Plate some up and take them to your neighbors to wish them Luck o' the Irish.


Enjoy!

-Tammy


*Click HERE to see the lovely linky parties we participate in!*
Pin It

Mar 10, 2011

{Rainbow Waffles by a SUPERMOM!}

Alright, everyone....

You need to check out Kelli's blog


Just look at this recipe/tutorial for today:


Brilliant!  And, darling.

Definitely squeal-inducing!

Pin It
Related Posts Plugin for WordPress, Blogger...