Hello, readers! Although we are no longer posting new items on our blog, we are keeping it available so you can browse through our past posts. Thanks for visiting!
Showing posts with label fun for kids. Show all posts

Oct 21, 2011

{Minnie Mouse Party!}

My baby turned three this past week, and we decided to celebrate by honoring one of our favorite Disney characters...

M I N N I M O U S E !


Thanks to pinterest, I found some really cute cupcake ideas. I found these polka-dot wrappers at Michaels. The ears are mini Oreos, and the bows are fashioned with Fruit by the Foot.


I made Mickey and Minnie ears for our guests. I bought cheap headbands at Dollar Tree and wrapped them with black ribbon (hot glued the ends). The ears are made out of fun foam.

It was so fun to see everyone wearing them...even the big tough men kept their Mickey ears on all night!

:)

I'd share pictures, but I'm pretty sure I'd regret it.


I used some big hurricanes and apothecary jars to decorate the table. One was filled with red Dollar Tree Christmas ornaments, and the others were filled with red licorice and marshmallows.


And....here is the Birthday Girl herself!


It was a fun night!

--Tammy

Pin It

Sep 18, 2011

{Ghostie BOO Garland}


Here's a quick and easy-to-follow photo tutorial on how you can make your own Ghostie Boo Garland!


Tissues (2 for each ghost, layered)
Cotton balls (4 for each ghost head)
Floss or white thread (to tie around neck)
Black marker (to make eyes)
Embroidery floss (to string ghosties onto)
Long needle (to poke through ghostie neck)


Once all of the ghosties are strung, you can make "BOO" tags to hang inbetween each one, or you can leave it just as it is.


I stamped the word "BOO" in black ink onto bright orange card stock.
I cut a "V" shape at the bottom and used black chalk to distress the edges.  I then folded the top of the card stock over the string and stapled the paper together, close to the string, to keep it in place.


That's it!
Hang it somewhere spooky and awesome and you're good to go.


Most importantly...  have fun!

-Annie

*Click HERE to see the linky parties we participate in!*

Pin It

Sep 14, 2011

{Halloween Printing with Fruits + Veggies}


I was cleaning out the fridge today, about to throw away some carrots and apples that didn't get eaten (shh.. don't tell my mother!) and I thought

"Hey wait a minute, I can be crafty with these!"

And... so can you!


All you and your little punkin's need to make some printed Jack-o-Lantern's is an apple, a couple of carrots and some craft paint.

Cut some shapes into the thick end of the carrot. I cut a triangle and a rectangle.  The long carrot stem makes these "stamps" really easy for small hands to hold when stamping.


Slice off one side of the apple.  Don't cut too closely to the core or else your stamp will look like an apple instead of the pumpkin shape you are going for.

Then, take the apple slice you just cut off and cut it in half to make a curved mouth.  You can keep it just how it is or make a few notch/cuts to make teeth.

Spread some paint out onto paper plates, grab some white paper and get stamping!

Super-easy, super-fun.

If you cut out each individual pumpkin print (once it's dry of course) you can string them onto a garland, or make them into a magnet or even gift tags to tie onto a loaf of pumpkin chocolate-chip bread for your neighbors (or to send directly to me... mmm).

-Annie

Pin It

Sep 12, 2011

{Plum-Perfect Cupcakes}

IMG_4898-1


I shared this recipe at Snips & Spice a little while back.
If you haven't made them yet.... do it!  They are delicious!
* * * * *
I’ve been toying around with the idea of a plum cupcake for a while now, and decided this was the perfect chance to experiment.
I have to say that I think these turned out really tasty. They have a plumb-perfect blend of sweetness {from the frosting} and tartness {from the filling}.

You’ll need to plan ahead a little for this recipe…the plum sauce takes about 10 minutes to make and at least an hour to chill in the fridge before it is cool enough to use.

{Plum Perfect Cupcakes}
1 white cake mix
3 fresh plums
8 oz cream cheese
1 cube butter, room temp
3 Tbsp prepared plumsauce (see below)
1 tsp vanilla
7-8 cups powdered sugar (approx 2 lbs)
First, you will need to make your plumsauce filling. Cut fruit (with skin) from the pit of 3 fresh plums and process in a blender or food processor until the skins are chopped and blended in. Pour into small saucepan, and simmer for about 10 minutes, until the texture resembles that of applesauce.
IMG_4887

Pour into separate bowl and refrigerate for one to two hours, until sauce is cool to the touch. To speed up the process, stir sauce a few times while it is cooling.
IMG_4889

Next, preheat your oven and mix cake batter according to directions. Fill cupcake liners 1/2 full, and bake for about 15-17 minutes at 350. My mix made 30 cupcakes.
Allow cupcakes to cool.
Reserve about 3 tablespoons of cooled plum sauce to add to your frosting.

To fill cupcakes, pour remaining plum sauce into a pastry bag with a round tip, stick tip directly into the center of the cupcake, and squeeze a little sauce into each one.
filled cupcake 1
IMG_4904

Once filled, your cupcakes are ready for frosting.
This recipe makes a large amount of frosting, because I like to swirl big heaps of it onto my cupcakes. Feel free to halve the recipe if you don’t want as much on yours.
{Frosting}
Mix cream cheese, butter, 3 Tbsp plumsauce, and vanilla with hand mixer until well-blended. Slowly add powdered sugar one cup at a time until thick enough to pipe and hold up.
IMG_4898-1

Frost, Decorate, and Enjoy!

-Tammy

Pin It

Sep 5, 2011

{Spooky Party Treats}

Halloween is coming!  Hooray!  It is my favorite holiday.  I love being spooked.

Both Tammy's and my birthday are right around Halloween so we would always have combined Halloween costume birthday parties when we were young.  They were the best!  That might be why Halloween holds such a fun place in our hearts (thanks Mom!).

Here's a tutorial on how you can make your own simple Halloween party favors.

Gather your paper crafting supplies and a few plastic party favor boxes and get to work!

 
I found the cute Halloween creature head stamps at JoAnn's in the dollar section. Score!
Wrap the main paper around your favor box to determine the size you will need.
These boxes are 2" x 2" x 1".  They came in a 3-pack and were found in the party section at Dollar Tree.  Snip off the ugly, smashed bow that they come wrapped in and fill them with the candy of your choice (individually wrapped candy is best, as the insides of the boxes might not be clean).
I chose butterscotch hard candies because I'm secretly a 90 year old grandma.  Just kidding.  I love me some butterscotch!
Assemble all of your box wrappers and admire your awesome work... holy Halloween cuteness!

Wrap them around the boxes and secure them in back with a little tape.

Now hand them out at your Halloween party, give them to neighbors or take them to school to share with all of your best Halloween buddies!
Boo!

-Annie

Pin It

Aug 24, 2011

{Chewy Chocolatey S'MORES Cookies}

IMG_4864-1

There have been some really great S’Mores-themed goodies all over blogland this summer. I decided to try the idea with my favorite chocolate cookie recipe, and man, they were yummy!
These are a great way to celebrate the last few weeks of summer.

Here is the basic recipe:

{Chocolate Cookies}
1 1/2 sticks butter
2/3 cup sugar
2/3 cup brown sugar
2 eggs
1 tsp vanilla
1/2 cup cocoa powder
1 tsp baking soda
1/2 tsp salt
2 1/2 cups flour

Cream butter and sugars, and then add eggs and vanilla. Gradually add dry ingredients. Roll into small balls and place onto greased or parchment-lined cookie sheet. Bake at 350 for 10 minutes.

{For S’Mores Variation}
Break up some graham crackers into 1-inch pieces, and stick two into the sides of the top of each cookie, at an angle. Break up a Hershey bar into the pre-scored rectangles, and then break each piece in half. Stick one in the top of each cookie, also at an angle, so you have a little cavity to put a mini-marshmallow right on top without it rolling off:

IMG_4856-1

Bake at 350 for about 10 minutes.

Enjoy!

-Tammy


Pin It

May 10, 2011

{Garage Sale Finds}

It's Garage Sale Season!
Here are my finds from this past weekend:

This red coral pillow was $1.
It still had the original price tag on it for $19.
It smelled fresh and clean and came from what I could tell was an immaculate home, so I snatched it up.
It looks great on my wooden rocker.

I'm a bookworm.
I love decorating with books. Especially beautiful old books.
So when I found these delightful
1952 children's U.S. history books
at 3 for a quarter, I didn't even think twice.
Bonus:
My 9-year-old  son thinks they look great and can't wait to read them!


I spotted this cute teapot from the road and knew it was going to be mine...that is, if it was less than 5 dollars.
Lucky for me it was only $2!
I love it.

I'm always on the lookout for these memo boards to use for hair bow storage.
We have a lot of bows at our house.
You'd think I had a dozen daughters, but I have only two. 
My girls have never gone a day in their lives without a bow in their hair (you think I'm kidding, but no).
This is only about 1/3 of our collection.

So when I found this one still in its original packaging, I tried to strike a bargain with the seller. I offered $1.50, and she accepted!
It never hurts to try.

All in all, I'd say it was a very successful start to Garage Sale Season for me.

Here are some tips for you mommies out there:
You can go garage saling (I'm declaring that a real word) with your kids.
  • Pack a lot of different kinds of snacks and some toys you wouldn't usually have in the car. I like giving them new stickers or notebooks with fun pencils that will keep them happy. And don't forget the sippy cups.

  • I wait for a parking space that is right by where I'll be browsing, and I leave my kids in the car with the windows down so I can hear them and they can hear me. If I can't get a parking space right next to the driveway, then I wait for one. It's SO worth it to not have to get your kids out of the car and battle with them while you're looking for treasures. Also...if the sale goes deep into the garage and I'm forced to go inside where I can't be near or see my kids, I don't go in. No treasures are worth risking my family's safety.

  • I also involve my kids when I'm looking for sales. They have competitions to see who can find the signs, and they love helping me look for the arrows to tell me where to go  (hopefully they won't take you to an octopus). The first one to actually spot the sale is the big winner! Sounds lame, but it works for us.

  • The more fun you can make the whole adventure, the longer you can be out treasure hunting on Friday and Saturday mornings!

If you have any more tips, please let me know in the comments.

Have fun out there!
--Tammy


Pin It

May 4, 2011

{Make Your Own TWIX}

I have always loved me a TWIX bar.
I may or may not have eaten one every day for lunch in 7th grade.


So...when I came upon a few different recipes for homemade TWIX bars I knew I had to try them out! I have since made these many times and have tweaked the recipe to my liking.

They really do taste like the real thing...maybe possibly even a little better!

{TWIX BARS}
48 Club Crackers (a few more than one sleeve)
1 c. graham cracker crumbs (one sleeve)

1/3 c. sugar
3/4 c. brown sugar
1/3 c. milk
1/2 c. butter
Topping*:
1 1/2 c. semi-sweet chocolate chips
1 1/2 c. vanilla baking chips
* Most recipes call for milk chocolate chips. I have tried milk and semi and I thought both were good....but one day all I had was 1/2 a bag of semi, so I decided to add vanilla chips to them, and it turned out to be the perfect combination for my taste buds! I do it this way every time now.
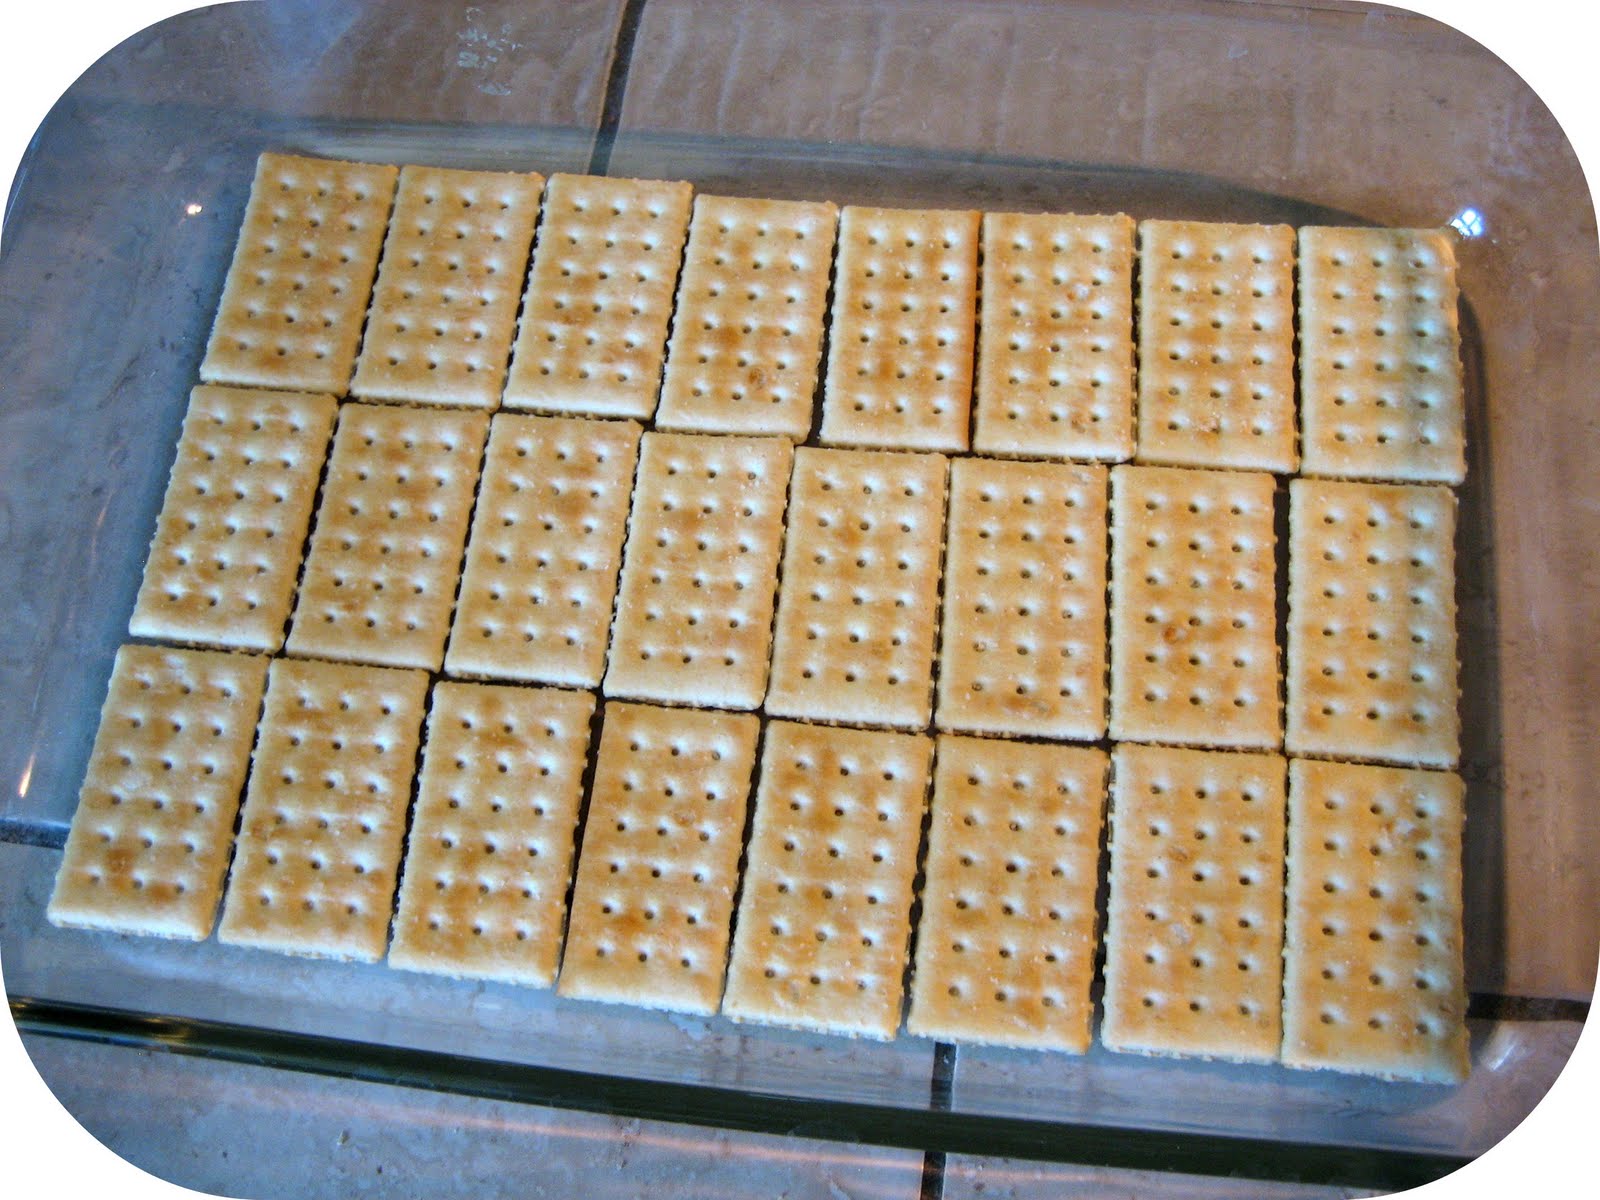
Place one layer of Club Crackers in a lightly greased 13×9 casserole dish.
Use your food processor or blender to make graham cracker crumbs, and pour into a heavy sauce pan. Combine remaining ingredients into pan and heat over medium heat until it comes to a boil, stirring constantly. Boil for 5 minutes (continue to stir). It should look (and smell) like caramel.
Carefully pour mixture over crackers.
Immediately place another layer of Club Crackers on top, pushing them down into the caramel mixture gently.

 Melt chocolate chips in microwave (on high in 30 minute second increments [thanks to a reader for pointing out that mistake!], stirring between each), and pour on top of crackers.
Refrigerate until cool, and then cut and serve.
Enjoy!
--Tammy

Pin It
Related Posts Plugin for WordPress, Blogger...